Temperance in Raft: Island Mechanics and Reactor Puzzle Guide
Temperance is the bottleneck that stops most players cold — literally. The moment you set foot on this frozen island, the game shifts from "survive the ocean" to "survive the puzzle box," and unless…
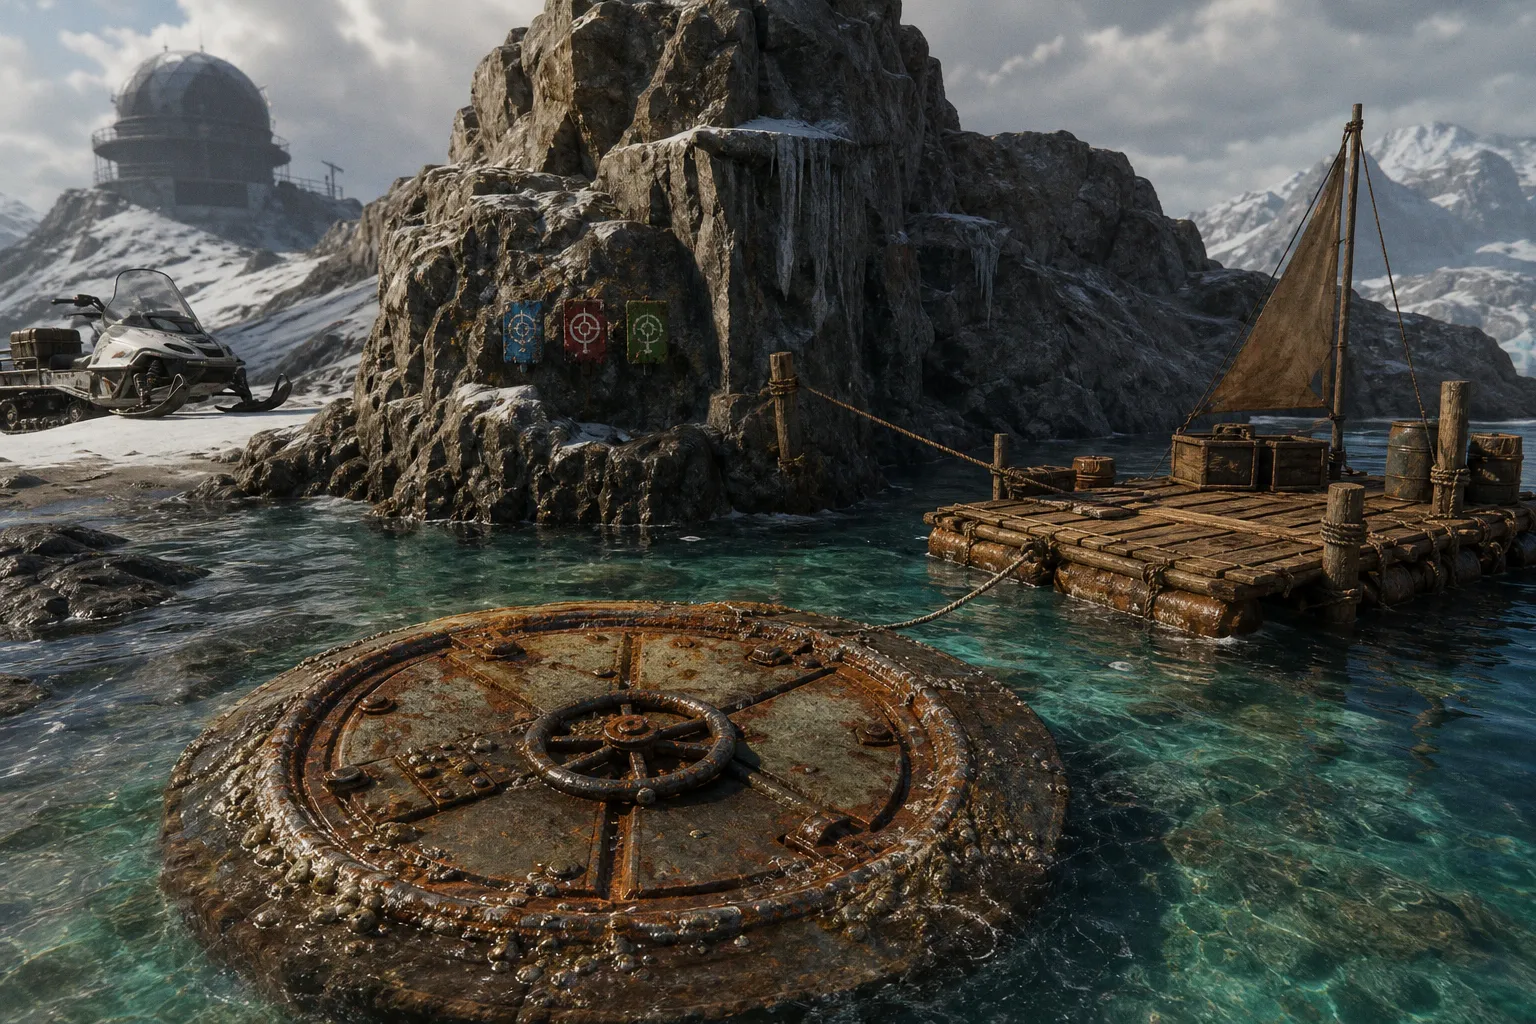
Raft Game Temperance Walkthrough: Keycards, Snowmobile, and the Reactor Puzzle
Temperance is the bottleneck that stops most players cold — literally. The moment you set foot on this frozen island, the game shifts from "survive the ocean" to "survive the puzzle box," and unless you understand the core loop before you freeze, you will waste thirty minutes sprinting between identical snowbanks looking for clues that do not exist. The whole island is built around one objective: reach the reactor room, solve a randomized console, and unlock the coordinates for Utopia. Everything else — the snowmobile, the observatory, the three keycards — exists to gate that objective behind mechanical knowledge rather than luck. This walkthrough is built around that priority order so you are not the player who clears the island three times in a row because you kept finding the same dead-end building.
The critical thing to internalize up front: there is no fixed reactor code. The console puzzle is randomized per session, which means memorizing a YouTube solution is time-gated useless. What you actually need is the methodology — where the symbols are, how to read them, and how to rotate them into the console without burning your flashlight battery in a dark room with a respawning cold meter. We will cover all of it.
Treat the island as a keycard scavenger hunt with a randomized finale. The scavenger hunt is fixed; only the finale moves.
Navigating the Frozen Landscape and Snowmobile Mechanics
The first resource deficit you will hit on Temperance is mobility. The island is large, the snow slows you down, and your standard on-foot sprint is a poor ROI for the distances you need to cover. The single highest-value item on this island is the snowmobile, and you should treat locating it as Priority One the moment you spawn in.
When you arrive at Temperance, you will be on foot at the shoreline. The snowmobile is parked in a fixed mid-island location, generally near a cluster of metal structures and easily visible once you crest the first ridge. Walk — do not sprint blindly — and keep your eyes on the horizon. Do not detour into side buildings until the snowmobile is in your inventory. The reason is mechanical: every minute you spend on foot in the cold is a minute you are not looting keycards, and the cold meter is unforgiving. Players who try to "explore on foot and grab the snowmobile later" tend to backtrack twice and arrive at the reactor puzzle under-geared.
Once you have the snowmobile, the entire map opens up. The frozen surface is flat enough that you can cross the island in roughly forty seconds at full throttle, which collapses what would otherwise be a ten-minute hike into a one-minute drive. This is the optimal rotation, and it matters because the three keycards are spread across opposite ends of the island. You will be making loops, not lines.
A few practical notes on the snowmobile:
- Fuel is limited but not punishing. The tank holds enough for the full keycard run plus a few detours, so do not ration aggressively. Drive normally.
- You can take damage on the snowmobile, but it is rare. The bigger risk is flipping it on uneven terrain near ridges — drive along flat paths rather than cutting across snowdrifts.
- If you do get stranded, the snowmobile is repairable with scrap, and there is enough scrap scattered around the island to recover. Do not panic-restart.
Locating the Blue, Red, and Green Keycards
The reactor room door will not open with one keycard, two keycards, or any partial combination. It requires all three: Blue, Red, and Green, each located in a separate building complex on a separate quadrant of the island. This is the island's core time-gate, and it is the part most casual players botch by either skipping side buildings or revisiting the same building twice thinking they missed something.
Each keycard sits inside a locked interior room in one of the three main facilities. The doors are unmissable — they glow and have a keycard reader panel — and the keycard itself is sitting on a desk, table, or shelf in the center of the room. There are no hidden wall panels, no code-required lockers, no destructible walls. If you enter a building and see a glowing keycard door, the card is directly on the other side.
Here is what actually matters: the order in which you collect them does not matter mechanically, but it matters logistically. The Blue, Red, and Green keycards are distributed roughly along three points of a triangle around the central observatory/reactor area. If you pick up the snowmobile first (as instructed above), you can complete a clean triangle loop in roughly five to seven minutes without ever dismounting unless you are entering a building.
| Keycard | Approximate Location | Building Type | Notes |
|---|---|---|---|
| Blue | Western complex | Industrial warehouse | Often on a metal shelving unit near a side office |
| Red | Northern complex | Research station | Inside a locked side room, watch for the cold hallway en route |
| Green | Eastern complex | Barracks-style building | Easiest to spot, usually on a long table in the main hall |
Once you have all three, the reactor room is unlocked and there is no further door check. Do not waste time double-checking your inventory mid-loop — the cards stack in a single dedicated slot and the UI tells you immediately when you are holding all three.
Three doors, three cards, no alternatives. If a building does not have a glowing keycard door, it is not part of this step.
Exploring the Observatory for Reactor Symbols
The reactor console requires a sequence of symbols, and the symbols are not given to you by the puzzle itself. They are scattered across the island, primarily concentrated in the observatory building at the highest elevation point. This is the part of the walkthrough that trips players up because the game does not clearly tell you where to look — it expects you to connect "reactor console" to "observatory notes" on your own.
The observatory is a domed structure with a telescope and a series of desks, chalkboards, and pinned notes. Around the interior walls you will find diagrams, sketches, and most importantly, a printed symbol sequence. The symbols look like stylized icons — geometric shapes, arrows, abstract figures — and they appear in a specific left-to-right order on the documents. There are typically three to five symbols in the sequence, and the order is randomized per session.
Critical mechanic: the symbols on the observatory documents are the exact symbols and exact order required at the reactor console. You are not solving a cipher. You are not rotating a fixed pattern. You are copying what you see, in order, into the console. This is why we said memorizing a YouTube solution is useless — your sequence will be different from anyone else's.
A few practical pointers:
- Bring a notepad or screenshot the documents. The symbols are small and the lighting in the observatory is dim, and you do not want to backtrack because you misread one icon.
- The documents are duplicated in a few locations, including occasionally in the same building as one of the keycards. If you find a sketch with symbols on it early, photograph it immediately — it is the same sequence you will need later.
- Do not assume the symbols are in the building you started in. Always check the observatory first; it is the canonical source.
The observatory is not flavor text. It is the cheat sheet, and skipping it means you are solving the puzzle blind.
Solving the Randomized Reactor Console Puzzle
You have all three keycards. You have the symbol sequence from the observatory. Now you need to actually input it. The reactor console is a wall-mounted panel in the reactor room (the door you unlocked with the keycards), featuring a row of symbol slots and a directional input mechanism.
The console accepts symbols one at a time, and you cycle through the available symbol options using a rotate or select input on the panel. This is the slow part of the island, and it is where players most often fail or burn through time. The reason is mechanical: each symbol has multiple visual variants, and the symbols on the observatory documents can be confused with similar-looking icons on the console if you are rushing.
Optimal input method:
1. Stand directly in front of the console, ideally at the angle where the panel lighting is clearest.
2. Pull up your observatory screenshot or notepad.
3. Input symbol one, confirm visually that the console icon matches the document icon exactly (do not match by category — match by shape), then advance.
4. Repeat for each symbol in sequence.
5. The console will confirm the correct sequence with an audible cue and unlock the next interaction — typically a final terminal that spits out the Utopia coordinates.
Common mistakes that waste time:
- Inputting symbols out of order because the console layout is confusing. Use the document order, not the console layout order.
- Confirming a "close enough" match. Two symbols may look like a triangle and arrow, but only one is the correct variant. Slow down for half a second per symbol.
- Trying to brute-force the sequence by cycling through random combinations. The console does not lock you out for wrong inputs, but you will waste five to ten minutes doing this when you could have just walked back to the observatory.
If you cannot solve the console, the answer is not at the console. Go back to the observatory.
Securing the Coordinates for the Final Journey to Utopia
Once the console accepts the sequence, the reactor activates and a final terminal becomes accessible in the same room. This terminal displays the coordinates for Utopia, the final story island, and is your ticket off Temperance. There is no additional puzzle, no follow-up fetch quest, no optional side content that gates this terminal. It is a linear reward for completing the core loop.
At this point, your remaining objectives are:
- Screenshot or write down the Utopia coordinates immediately. The game gives them to you in a single non-respawning terminal interaction, and if you forget them, you will be sailing blind toward the final location.
- Loot the rest of the island. Temperance contains high-tier scrap, ammunition, and crafting materials that are worth grabbing before you leave, particularly if you have been skipping side buildings during the keycard run.
- Refuel and prepare your raft for the long voyage. The journey to Utopia is the longest ocean crossing in the story mode, and you want a stocked water purifier, a full sail, and a reinforced anchor before you set out.
One mechanical note that catches players off guard: there is no return trip shortcut. Once you leave Temperance, you cannot fast-travel back, and there is no teleport mechanic. Whatever you want from this island, take it now. The optimal rotation here is: solve the puzzle, copy the coordinates, then spend the next ten minutes doing a full loot sweep of every building you skipped during the keycard run. Do not leave the island halfway-looted because "I will be back" — you will not.
TL;DR Resource Priority
If you only remember three things from this raft game temperance walkthrough, make it these:
1. Snowmobile first, keycards second, observatory third, reactor last. That order minimizes total time on the island.
2. The reactor code is randomized per session. There is no universal solution. Use the observatory documents as your source of truth.
3. Copy the Utopia coordinates the second the terminal displays them. Screenshot, write them down, tattoo them on your arm — whatever works. They are the only way to reach the final island.
Temperance is built to be solvable in a single clean run if you respect the priority order. The players who get stuck are the ones who try to "explore freely" and end up solving the island three times in three different ways without ever cracking the console. We have been there. Skip that loop. Take the optimal rotation, hold the keycards, read the observatory, solve the puzzle, copy the coordinates, and sail.