Pokemon Emerald walkthrough routes: how to choose your path
The main constraint in Pokémon Emerald is not the number of Gym Leaders. It is route gating.
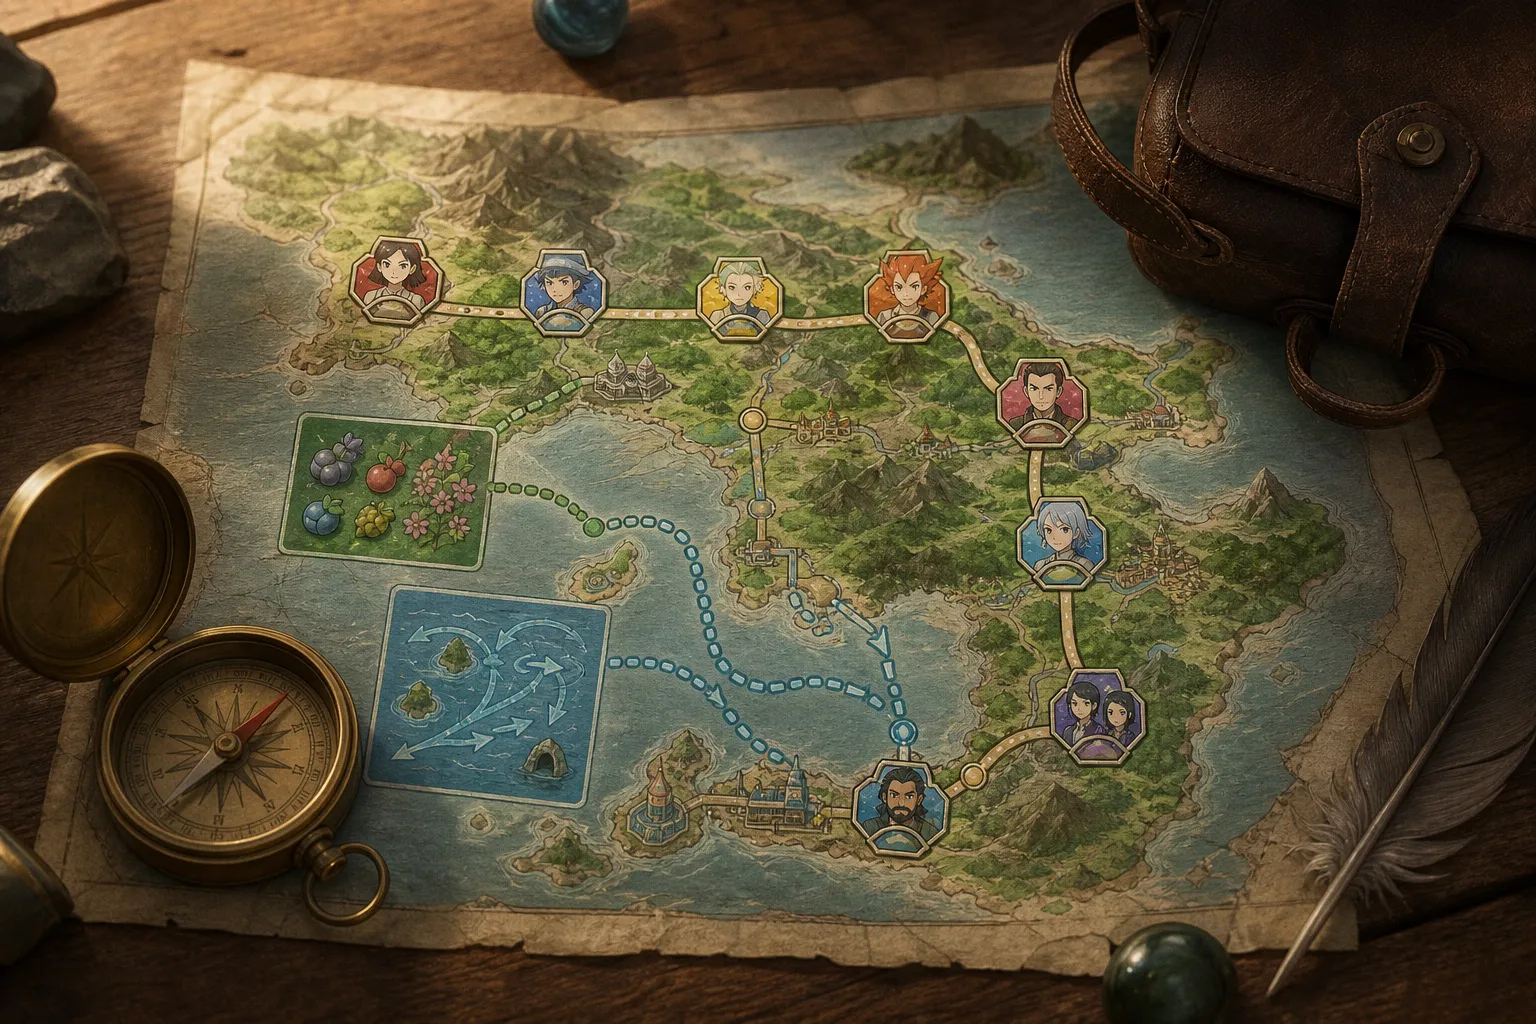
Use this Pokémon Emerald game walkthrough as a route-control document. The objective is simple: reduce wasted movement, avoid false locks, and identify which content is mandatory, delayed, or optional before committing time to it.
Standard Hoenn progression and where it can be broken
The default campaign path is linear on paper:
| Badge order | Gym Leader | City | Practical function in route planning |
|---|---|---|---|
| 1 | Roxanne | Rustboro City | Opens the early-game campaign loop toward Dewford and Slateport |
| 2 | Brawly | Dewford Town | Can be delayed, but not skipped permanently |
| 3 | Wattson | Mauville City | Centralizes the map and pushes the player into the midgame |
| 4 | Flannery | Lavaridge Town | Sets up the return to Petalburg |
| 5 | Norman | Petalburg City | Requires 4 badges before the battle is available |
| 6 | Winona | Fortree City | Can be delayed longer than any other Gym Leader |
| 7 | Tate & Liza | Mossdeep City | Required before the late-game weather crisis resolution |
| 8 | Juan | Sootopolis City | Final badge gate before the Pokémon League path |
The important part is not memorizing this order. The important part is knowing which gates are hard-coded by progression and which are only routing assumptions.
Brawly is the first useful break. After reaching Dewford, you can leave his Gym unresolved and continue toward Slateport City and then Mauville City. This lets you continue the campaign, gain levels, and return later with better matchups. The limit is Norman. Petalburg Gym requires 4 badges before Norman will battle. Brawly therefore cannot be deleted from the campaign. He can only be deferred.
Winona is different. Fortree Gym can be bypassed until very late. You can defeat Tate & Liza and Juan before returning to Fortree. If Juan is defeated before Winona, the game acknowledges the missing Fortree badge and reminds you to obtain it before challenging the Pokémon League. This is not a softlock. It is a delayed badge check.
Brawly is a delay target. Winona is the real sequence-break target.
For most players, the optimal route is not “skip every possible Gym.” It is “delay the Gym that slows the team least efficiently.” A weak early team may profit from postponing Brawly. A fast campaign route may defer Winona if the current team already handles the eastern water segment and Mossdeep sequence cleanly.
Early-route control: Rustboro, Dewford, Slateport, Mauville
The early campaign has one major routing decision: clear Brawly immediately or treat Dewford as a transit point.
Option A: defeat Brawly on first arrival
This is the stable route. Use it if the team has a clean answer to Fighting-type pressure or if you want the badge order to remain standard. It reduces backtracking logic. It also prevents the common error where the player reaches Petalburg with only 3 badges and then has to identify which Gym was left unresolved.
Advantages:
1. No badge accounting problem. Norman’s 4-badge requirement will be satisfied after Flannery.
2. Cleaner HM and city routing. The campaign remains aligned with expected NPC prompts.
3. Less risk of underbuilt secondary Pokémon. The team receives a natural early benchmark before Mauville.
Disadvantage: if the starter and captures are poorly matched, Brawly can consume time and resources without providing useful experience distribution.
Option B: skip Brawly temporarily
This is the efficient route when your immediate team does not want the Dewford Gym fight. Proceed through Slateport and Mauville, use the additional routes and battles to stabilize the roster, then return before Norman.
The hard rule: return before attempting Petalburg Gym. Norman requires 4 badges. With Brawly missing, the count will fail.
A practical delayed-Brawly route looks like this:
1. Clear Roxanne in Rustboro.
2. Reach Dewford.
3. Ignore Dewford Gym.
4. Continue to Slateport.
5. Push to Mauville.
6. Defeat Wattson.
7. Continue through the midgame until Flannery is defeated.
8. Return and defeat Brawly before Norman.
This line works because the game allows the player to move forward from Dewford without resolving the Gym. It does not work as a permanent skip.
| Route decision | Time gain | Risk | Required correction |
|---|---|---|---|
| Fight Brawly immediately | Low | Low | None |
| Delay Brawly until after Wattson | Moderate | Medium | Return before Norman |
| Delay Brawly until after Flannery | High | Medium | Return before entering Petalburg Gym |
| Ignore Brawly permanently | Invalid | Hard progression stop | Not possible in normal play |
The technical failure case is simple: the player treats a sequence break as a deletion. Pokémon Emerald does not support that for Brawly.
Midgame routing: Mauville, Lavaridge, Petalburg, Fortree
Mauville is the map’s routing hub. Once Wattson is cleared, the campaign shifts from early ferry movement to land-based expansion. The next required target is Flannery in Lavaridge. After Flannery, the game’s structure points back to Norman in Petalburg.
At this stage, badge count matters more than area count. The player may have visited multiple towns, fought many trainers, and expanded the Pokédex, but Norman only checks badges. If Brawly was skipped, clear him before trying to make Petalburg Gym the fifth-badge point.
Norman as the badge-count checkpoint
Norman is not just another Gym Leader in route terms. He is the system check that punishes sloppy early sequence breaking. The minimum is 4 badges. Standard order supplies those badges as Roxanne, Brawly, Wattson, and Flannery. If Brawly is absent, the count is 3.
Use this checkpoint:
- If Norman will not battle, inspect the badge case first.
- If Brawly is missing, return to Dewford and clear the Gym.
- If Flannery is missing, complete the Lavaridge segment.
- If Wattson is missing, the route is badly out of order; return to Mauville.
Do not diagnose this as an emulator issue, save corruption, or NPC bug. It is almost always a badge-count problem.
Fortree and Winona: the long delay option
After Norman, the route eventually points toward Fortree. Winona is the sixth Gym Leader in the standard order, but Emerald allows a larger delay here. This matters because the eastern Hoenn sequence contains major required content that can be executed before resolving Fortree Gym.
You can continue beyond the Fortree area, complete later story objectives, defeat Tate & Liza in Mossdeep, and defeat Juan in Sootopolis before returning for Winona. Juan will flag the missing Fortree badge in dialogue if Winona has not been defeated.
This route is valid, but not always efficient. Delaying Winona means the player must remember a pending Gym while crossing a region that already has complex water movement, Dive usage, and story triggers. The route is clean only if the objective is fast progression through required story flags and the team does not need Fortree’s experience or badge progression immediately.
A delayed badge is still a route debt. Track it, or it becomes a navigation error later.
Optional land routes: Route 123 and reward routing
Not every visible route in Hoenn is required for campaign completion. Route 123 is a clear example. It connects Route 118 and Route 122 and contains the Berry Master’s house plus a garden with rare berries. It is useful for item routing, berry collection, and completion behavior. It is not required to move the main campaign forward.
Treat Route 123 as a resource branch. Enter it when the objective is berry acquisition or route completion. Skip it when the objective is campaign speed.
| Optional route | Location function | Primary value | Campaign requirement |
|---|---|---|---|
| Route 123 | Connects Route 118 and Route 122 | Berry Master’s house, rare berries | Optional |
| Routes 132–134 | West-flowing ocean current routes from Pacifidlog | Sealed Chamber access route | Optional unless pursuing Regi unlock |
| Sky Pillar | Legendary encounter location | Rayquaza before Elite Four after weather crisis | Optional for League access, powerful for team strength |
Route 123 is also a useful example of why a Pokémon Emerald route guide should not treat “available” as “mandatory.” Hoenn contains many branches that look like progression because they are large, trainer-filled, or item-dense. The campaign does not require all of them.
Use a simple classification:
1. Mandatory path. Needed to advance the story or reach a required Gym.
2. Delayed mandatory path. Can be postponed but must be resolved later, such as Brawly.
3. Optional power path. Not required, but provides meaningful strength or utility, such as Rayquaza.
4. Optional collection path. Used for berries, items, Pokédex work, or completion, such as Route 123.
5. Optional legendary unlock path. Not required for the League, but necessary for specific legendary objectives, such as the Sealed Chamber route.
This prevents route bloat. It also prevents the common campaign error where the player spends time clearing optional branches while the actual blocker is a missing badge or unresolved story trigger.
Optional water routes: Routes 132, 133, and 134
Routes 132, 133, and 134 are optional water routes with strong ocean currents flowing west from Pacifidlog Town. They are not standard campaign corridors. Their main strategic value is access to the dive spot leading to the Sealed Chamber.
These routes should be treated as current-based navigation puzzles. Movement is constrained. Entering from the wrong line can force a reset or repeat attempt. The purpose is not trainer clearing. The purpose is reaching the correct Dive position on Route 134.
When to enter the current routes
Do not route these waters early without a reason. Enter them when one of the following objectives is active:
- You are unlocking the Sealed Chamber.
- You are preparing for Regirock, Regice, and Registeel.
- You are collecting map completion data.
- You are intentionally clearing optional trainers and items.
If none of those objectives apply, skip the segment during the main campaign. It adds movement cost and does not move the Gym sequence forward.
Current-route execution
The current routes require controlled entry. The current pushes the player west. This means minor positioning errors compound quickly. Save before committing to the run if the platform or emulator setup allows it. If using original hardware, enter with a clear plan and avoid unnecessary turns.
The main target is Route 134’s dive spot. From there, Dive access leads toward the Sealed Chamber route. The exact tile path depends on current positioning, so treat failed attempts as navigation resets, not progression failures.
Unlocking the Sealed Chamber and the Regi route
The Regi unlock path is optional, but it has strict payload requirements. The Sealed Chamber does not open because the player merely reaches the location. The party configuration matters.
To unlock the Sealed Chamber route for Regirock, Regice, and Registeel, you must:
1. Navigate the Route 134 current path.
2. Use Dive at the correct dive spot.
3. Reach the Sealed Chamber.
4. Place Wailord first in the party.
5. Place Relicanth last in the party.
6. Execute the chamber interaction required to open the tombs.
This is a classic Emerald routing trap. The player may solve the movement problem but fail the party-state requirement. The game is not asking only for location access. It is checking party order.
| Requirement | Correct state | Common failure |
|---|---|---|
| Route access | Enter current routes from Pacifidlog side | Approaching without controlling current movement |
| Dive usage | Use Dive on Route 134 at the correct spot | Surfing past the dive point |
| Party slot 1 | Wailord first | Wailord present but not first |
| Party slot 6 | Relicanth last | Relicanth present but placed elsewhere |
| Objective | Open tomb access for Regirock, Regice, Registeel | Expecting the Regis to appear without chamber unlock |
Do not confuse this with main campaign progression. The Regi trio is not required to beat the Pokémon League. The route is for legendary completion and optional post-route objectives.
Starter choice and team routing: why Mudkip dominates efficiency
For efficient campaign routing, Mudkip is the default starter choice. The reason is not style. It is coverage and stability. Mudkip evolves into Swampert, which handles large parts of Hoenn’s campaign structure with fewer forced team corrections than the alternatives.
Speedrun routes commonly use Mudkip and later Swampert because the line compresses several needs into one slot: strong general damage, favorable matchups into key segments, and reduced dependence on building a wide roster early. This does not make Treecko or Torchic unusable. It makes Mudkip the cleanest answer for a low-friction Pokémon Emerald campaign walkthrough.
Practical team logic
Build around route function, not attachment. A campaign team needs to solve four jobs:
1. Primary damage carrier. Usually Mudkip into Swampert for efficiency-focused play.
2. Travel utility. Pokémon assigned to required field movement where applicable.
3. Backup matchup coverage. One or two members that stabilize bad fights.
4. Routing utility. Pokémon used to reduce backtracking or movement time.
Abra is a known routing utility because Teleport can quickly return the player to previously visited Pokémon Centers, including cities such as Petalburg and Mauville. In speed-oriented play, this cuts travel time. In normal play, it reduces repeated walking and surfing when correcting skipped objectives.
| Team slot function | Efficient example | Reason |
|---|---|---|
| Starter carry | Mudkip / Swampert | Strong campaign stability and common speedrun use |
| Backtrack tool | Abra with Teleport | Fast returns to key cities after route segments |
| HM support | Flexible utility Pokémon | Prevents moveset congestion on the main attacker |
| Legendary power option | Rayquaza | Level 70 capture before Elite Four after weather crisis |
Do not overload the primary attacker with every utility function unless the route demands it. A clean campaign team separates battle output from map service where possible.
Capturing Rayquaza before the Elite Four
In Pokémon Emerald, Rayquaza can be caught at level 70 at the Sky Pillar before challenging the Elite Four, after the Sootopolis City weather crisis storyline is completed. This is one of the strongest optional power spikes in the game.
The timing matters. Do not treat Rayquaza as postgame-only. Emerald allows the capture before the League once the relevant story event has been resolved. That makes Rayquaza a valid pre-Elite Four route decision.
When Rayquaza is worth the detour
Rayquaza is worth routing if the objective is reducing League risk. A level 70 legendary changes the final stretch significantly. It can compensate for a thin roster, inefficient leveling, or a campaign team built around utility rather than clean battle coverage.
Skip the detour if the objective is minimal legendary use or if the existing team is already prepared. The Sky Pillar ascent and encounter preparation cost time. The payoff is power, not required progression.
Rayquaza timing protocol
Use this order:
1. Complete the Sootopolis City weather crisis storyline.
2. Confirm access to Sky Pillar.
3. Prepare capture supplies before entering.
4. Ascend Sky Pillar.
5. Encounter Rayquaza at level 70.
6. Capture before challenging the Elite Four if using it as a League tool.
The key correction is simple: Rayquaza is not locked behind the Elite Four in Emerald. If a guide or memory suggests otherwise, it is using the wrong assumption for this version.
Recommended campaign path by objective
The best route depends on what the player is optimizing. Use the route profile that matches the objective instead of forcing one universal path.
| Objective | Recommended path | Notes |
|---|---|---|
| Clean first completion | Follow standard Gym order | Lowest confusion, minimal route debt |
| Faster early progression | Delay Brawly, return before Norman | Requires badge tracking |
| Maximum sequence break | Delay Winona until late | Juan will flag missing Fortree badge if needed |
| Legendary completion | Add Route 134 and Sealed Chamber routing | Requires Wailord first and Relicanth last |
| Safer Elite Four entry | Catch Rayquaza before League | Available after Sootopolis weather crisis |
| Berry and item collection | Add Route 123 | Optional; not campaign-critical |
For a balanced run, use this route:
1. Choose Mudkip if efficiency is the priority.
2. Defeat Roxanne.
3. Decide whether to clear or delay Brawly.
4. Move through Slateport to Mauville.
5. Defeat Wattson.
6. Clear Flannery.
7. Confirm 4 badges before Norman; return for Brawly if missing.
8. Defeat Norman.
9. Continue toward Fortree.
10. Either defeat Winona normally or mark her as delayed.
11. Continue to Mossdeep and defeat Tate & Liza.
12. Complete the Sootopolis weather crisis.
13. Defeat Juan.
14. If Winona is still missing, return to Fortree before the Pokémon League.
15. Decide whether to capture Rayquaza before the Elite Four.
16. Enter the League with all 8 badges.
This path keeps every optional branch under control. Route 123 stays optional. Routes 132–134 stay reserved for Sealed Chamber work. Rayquaza becomes a deliberate power decision, not a rumor-based detour.
Troubleshooting route blockers
Use direct diagnosis. Most Emerald route issues are not bugs. They are missing badges, unresolved story flags, or optional-route confusion.
Norman will not battle
Check badge count. Norman requires 4 badges. If Brawly was skipped, return to Dewford and defeat him. Do not continue searching for a hidden NPC trigger.
Juan is defeated, but the Pokémon League path still blocks progress
Check Fortree Gym. If Winona was skipped, return and defeat her. Emerald can allow Juan before Winona, but the League still requires the complete badge set.
The Regi tombs are not opening
Check party order. Wailord must be first. Relicanth must be last. Merely owning both does not satisfy the chamber condition.
The Route 134 dive point is missed
Reset the current-route attempt. Routes 132, 133, and 134 push west with strong currents. A wrong entry line can carry the player past the intended position.
Rayquaza is not available as expected
Confirm Sootopolis weather crisis completion. In Emerald, Rayquaza can be captured at level 70 before the Elite Four after that storyline is resolved.
The route feels overlong
Remove optional branches. Route 123, the Sealed Chamber path, and the Regi hunt are not required for the main campaign. Keep only the branches that match the objective.
The efficient Hoenn route is not the one that touches every map tile. It is the one that treats every Gym, current, chamber, and legendary encounter as a gate with a defined condition. Track Brawly before Norman. Track Winona before the League. Use Route 123 only for resources. Use Routes 132–134 only when the Sealed Chamber is the target. Capture Rayquaza before the Elite Four only when the power spike justifies the detour.